How to Make a LOST Spam Musubi
I’ve been talking about this mysterious LOST themed food I wanted to do for a couple weeks now and despite my intentions to test the idea out ahead of time, I just never got my lazy ass to do it until last night. However, I am very happy to report that I’ve successfully done what I set out to do with almost no problems at all.
(Skip to the very bottom for a plain recipe)
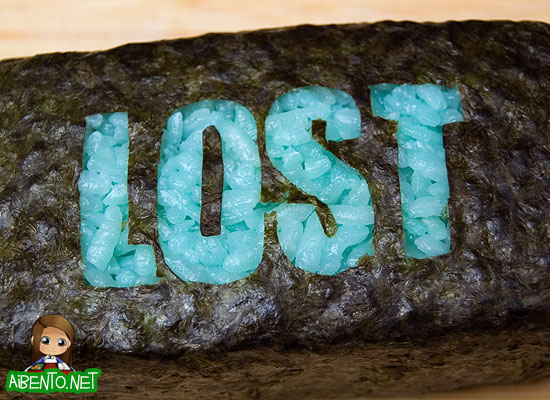
Can you guess what it is? Oh, wait. This post is called How to Make a LOST Spam Musubi. Ha ha! Well then, let’s get to how you go about making such a marvelous thing.
I chose spam musubi for obvious reasons. Having been born and raised in Hawaii, where LOST is filmed, I just can’t help myself. We grow up eating SPAM here. It’s just part of who we are. And since I’m a known LOST food fanatic, I figured this was the perfect food to celebrate the premiere of Season 6 at Sunset on the Beach.
I started off by printing out a sheet of LOST logos. I tested another sheet with sizes and settled on 2.25″, then printed one with tons of logos. Then I had to begin cutting. I should note that it was very fitting that I found “The Incident” on my TiVo last night. It made the perfect viewing material for this.
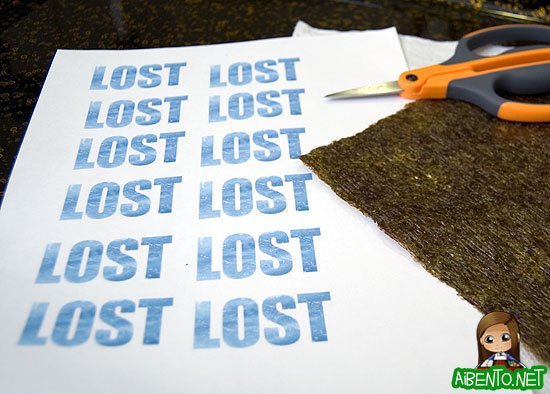
I had to use my Fiskars Micro-Tip Scissors for this, as precision matters. If you attempt this with a regular scissors, I am not responsible for any subsequent hair loss.
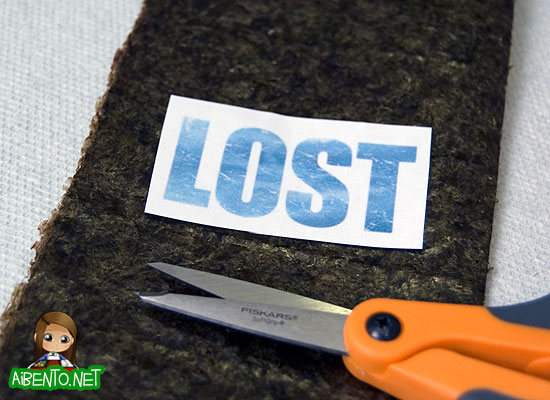
I cut out a logo and placed it in the middle of a full nori sheet folded in half. It’s better to cut thicker, so doubling up really helps to keep you from suddenly ripping off an important piece while doing something like say, moving.
UPDATE: I felt I should mention that you should leave your nori sheets out for a while so that they get a bit “stale”. This will help a lot when you need to fold the sheets to start your cuts into each letter, otherwise they’ll probably snap when you fold.

This was my first one, which I screwed up by forgetting that I wanted the outside, not the letters. I messed up the ‘S’, which upset me, but I kept going.
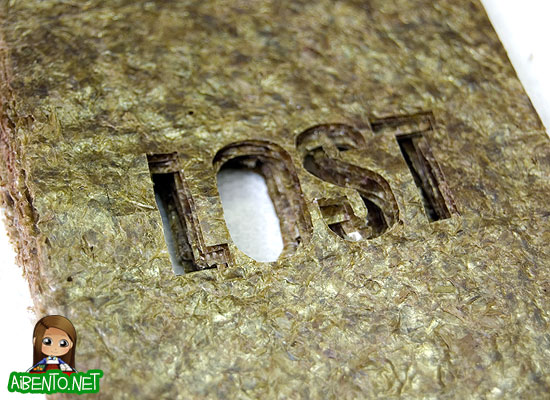
Here’s the stack of nori when I was done. After I finished each sheet, I cut along the crease to make the two sheets. I ended up cutting 6 sheets for a total of 12 LOST templates.
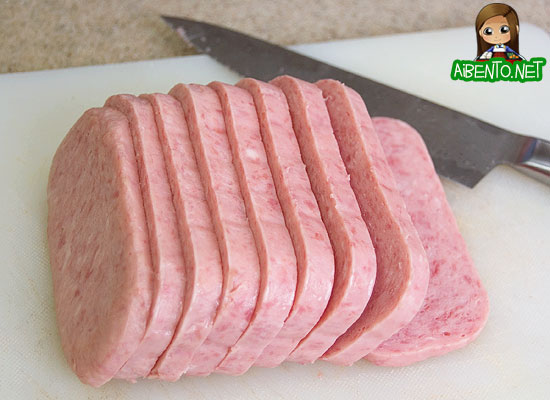
This morning I began cooking the SPAM. First, you slice it up. Usually you can get 10 slices, but I went a little thicker knowing that I didn’t have 10 quality sheets to work with and ended up with 9. You should also begin cooking your rice. If you have an aversion to food coloring, then just use white rice. I wanted to go for the teal logo though, so I added 4 drops each of green and blue food coloring to the water before I cooked the rice. I cooked 3 cups.
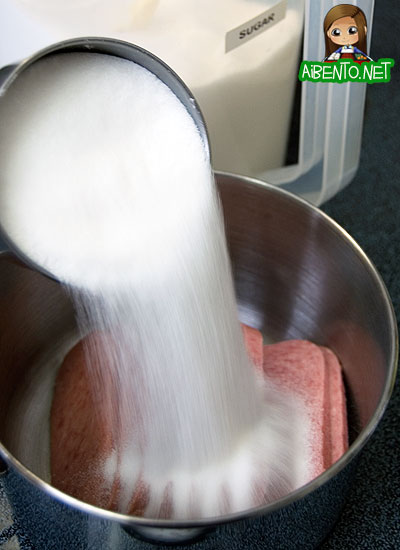
Put the slices in a pot, then pour in a cup of sugar. I know, WHOA, lots of sugar, but don’t worry, it’s just to cover the slices. You can always use 1/2 a cup and cook this in a pan instead.
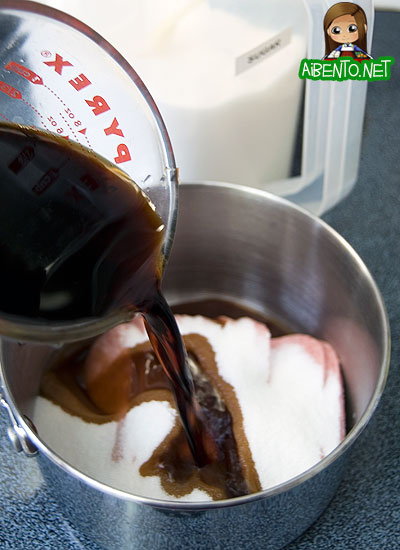
Next goes in 1 cup of soy sauce, I recommend light soy sauce, like Aloha Shoyu.
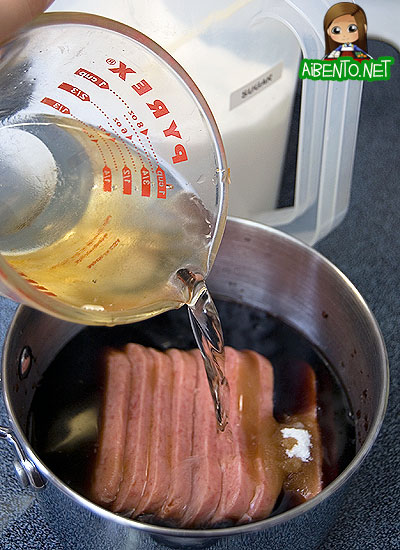
Next goes in 1 cup of mirin. I actually don’t like it too sweet and I don’t like to use too much mirin, so I used 1/2 cup of mirin mixed with 1/2 cup of water. If you don’t have mirin, then just use all water. Basically, you’re using a 1-1-1 ratio of these three ingredients. Reduce as needed.
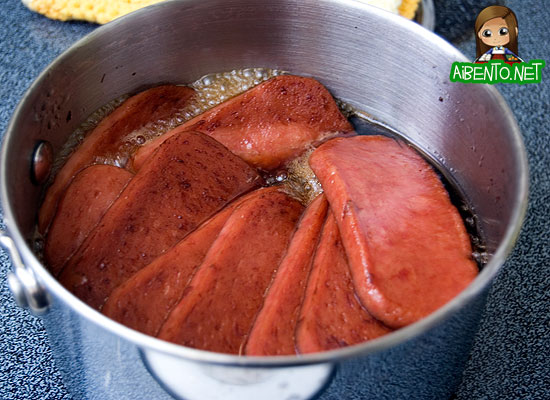
Cover and cook on medium heat for about 20 minutes. Uncover and lower the heat, then let it simmer for about 10 more minutes. It should be a nice dark color.
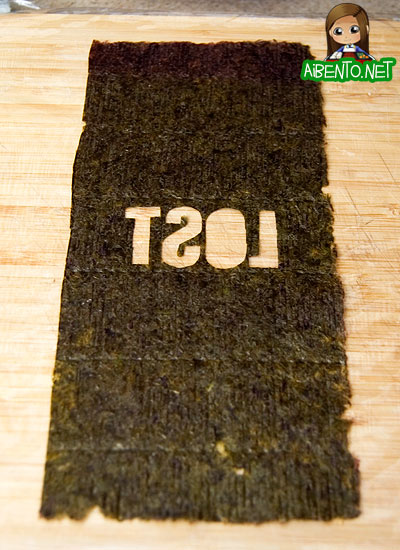
Next, it was time to assemble the musubi. I laid a piece of saran wrap down on my cutting board, which is extremely important for getting the nori to stay in place with the rice. It’s also VITAL that you put the sheet down UPSIDE DOWN. We don’t want TSOL musubis, do we?
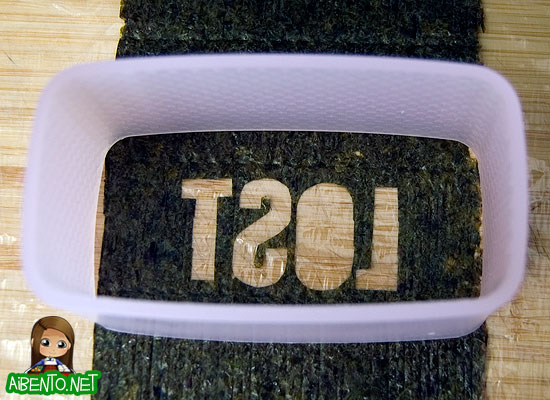
Using a Spam Musubi Mold (mine is a non-stick one, so you should dip it in water to help it not stick), place the outer frame on top of the letters.
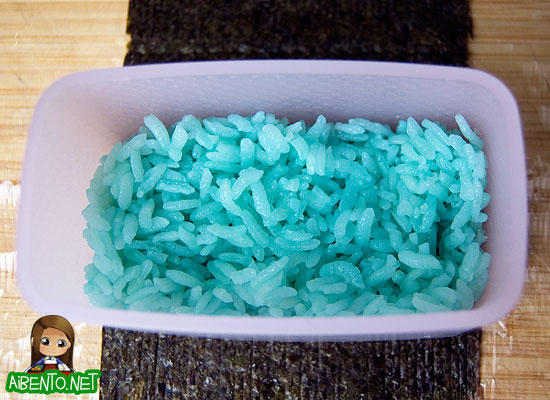
Add a thin layer of teal rice on the bottom.
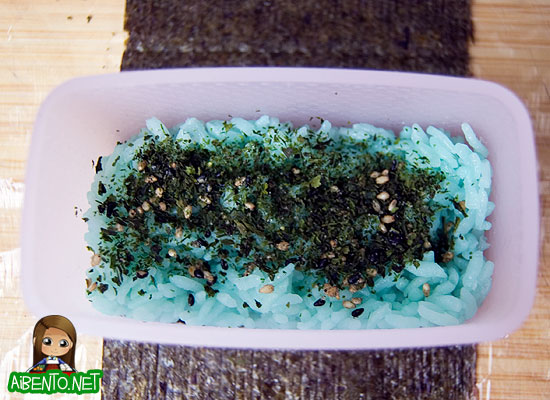
Next, sprinkle furikake. It’s optional, but if you do it, I recommend Aji Nori or Nori Komi. Don’t try anything else. This is what works with spam musubis.
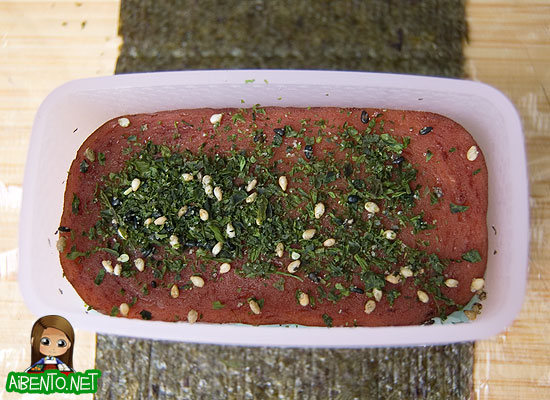
Place a slice of SPAM on top, then add more furikake.
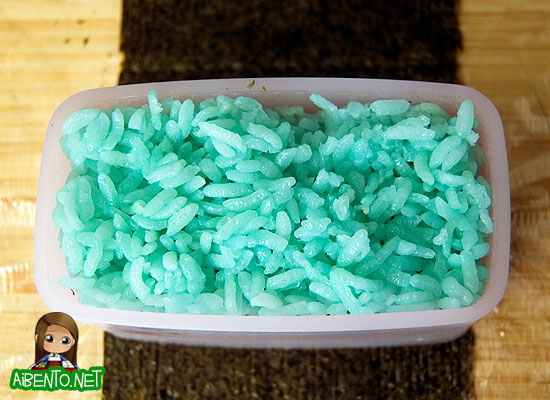
Add more rice. Position your fiery lamp of doom in the wrong spot to get crappy lighting.
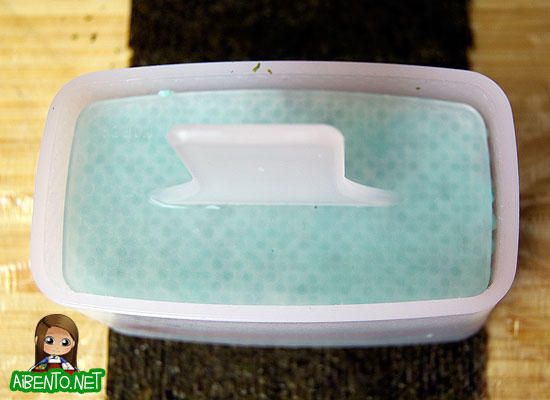
Put the masher thing on top and press down to sandwich everything together. Still holding it down, pull the frame up and remove it.
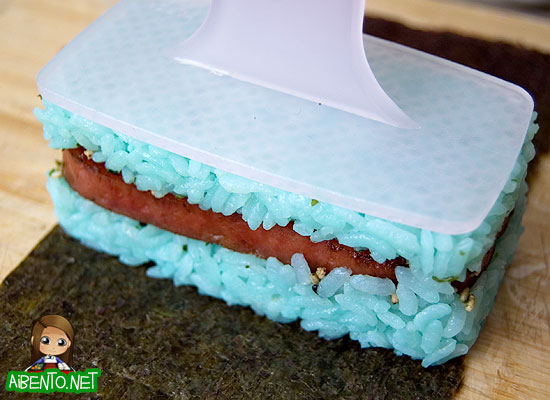
This is where you should be at. I dip the press in water to make it come off easy. You should too.
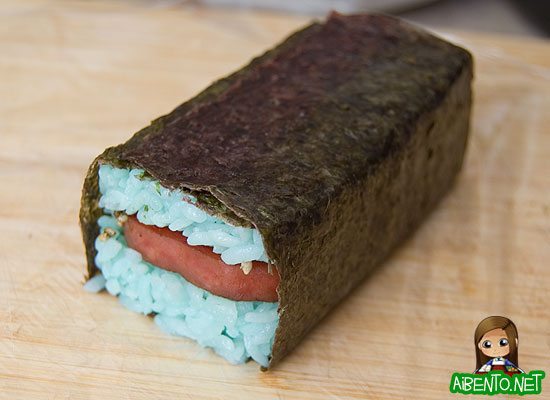
Fold the sides up, sealing the nori down with water. Now, let’s turn this puppy over and see what we have.
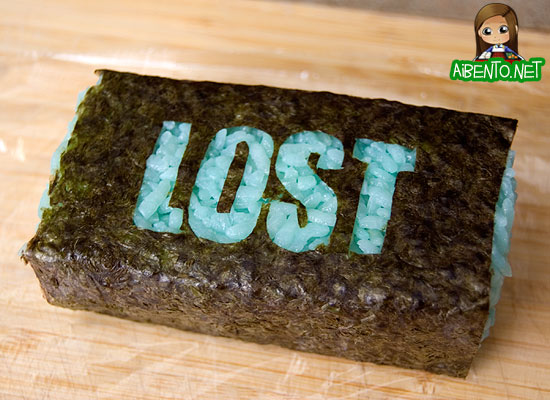
AWWWW YEAH!!!! When I turned it over, it actually had a full ‘O’, as I had the little strips for the middle of it on a paper towel on the side. I simply added it to the middle of the ‘O’ and that was that. I had been worried that the nori would curl all over, but the saran wrap worked beautifully for that. Afterward, just wrap the musubi up and you’re done!
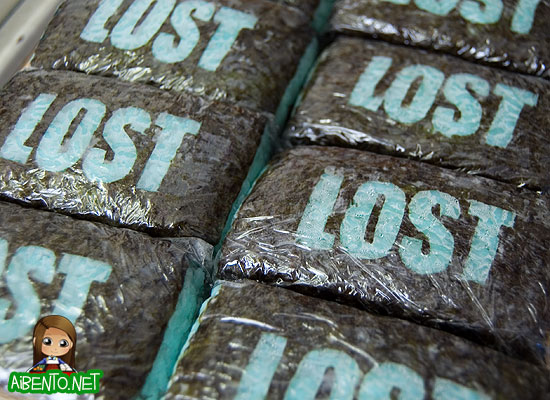
I had the biggest grin on my face after I made the first one and am just tickled at how they all came out. We’ll be heading out soon to hopefully join my brother at a spot he’s camping. I’ll be sure to let you all know if I see myself on screen!
If you’re interested in more LOST food, see my Season 5 LOST bentos and follow me on Twitter for more bentos to come for the exciting final season of LOST.
Tags: LOST, LOST Party Food, Spam Musubi, Tutorials

